Seeing your washing machine overflowing can lead to a feeling of panic and a feeling that you are going to have to call a repair company. In all reality, it is quite likely that you can deal with this problem yourself. The problem is probably due to a water inlet valve or a level switch.
Many people find that they are able to diagnose and repair this problem on their own. Others are more comfortable hiring a professional for washer repair. Here is how you can handle this on your own.
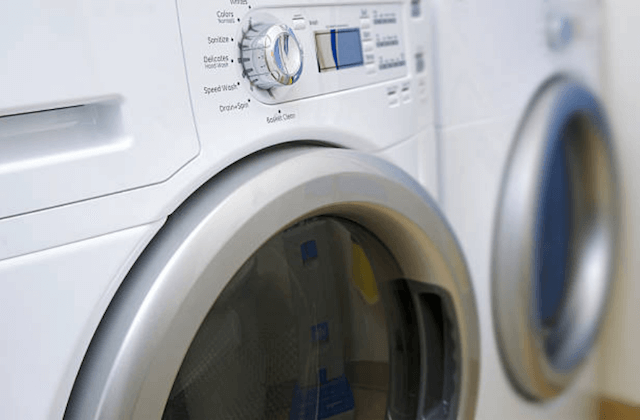
WHY IS YOUR WASHER OVERFLOWING?
There is an easy way to help you determine what you need to check when your washer is overflowing. You are going to turn the machine off, fill it up halfway with water, and then unplug the machine. If the water continues to run after the power is cut off, there is likely an issue with, either, the water level switch or the inlet valve.
Check The Water Level Switch (Also Known As The Pressure Switch) First
This switch is what communicates with the washer on when there is enough water and to stop filling up. This is going to be the first thing to check when you are having an overflow problem. It is quite a common occurrence for this switch to become clogged or for the tube connected to the switch to become unattached.
How To Replace the Water Level Switch (Pressure Switch)
- Make sure that the machine is unplugged and that the load size selector dial has been removed.
- There are plastic end caps on the control panels that you will need to take off.
- Then you need to remove the screws that hold the control panel in place and pull up on the control panel.
- The water level switch is going to be on the left side of the panel and the cover over it will need to be taken off (This will make the hose under the switch visible).
- Then, remove the screws that are holding in the water level switch.
- All the wires that were connected to the old switch will need to be reconnected to the new switch and then secure it back into its’ original position.
- Lastly, secure the control panel to its’ original position.
Checking The Water Inlet Valve
If the water level switch is not the problem, then it is likely due to a faulty water inlet valve.
How To Replace The Water Inlet Valve
- You will need to first make sure that water isn’t going to run into the washer by making sure that the water supply lines are shut off at the valves.
- The plastic end caps of the control panel need to be taken off and the screws need to be removed also.
- Take out the spring clips and tilt the cabinet in order to unplug the sensor wire that is under the control panel.
- The water supply lines need to be removed. This is going to spill some water and you are going to want to make sure that you clean this water up to avoid any shocking risks or safety hazards.
- The water inlet valve is going to be mounted by screws that you will need to remove. It is also going to have wires that are connected to the terminals that will need to be disconnected.
- Then, you will need to compress the hose clamp and slide this hose off of the valve itself. This is also going to result in spilled water that will need to be cleaned up.
- You will then connect the new inlet valve to the hose via the hose clamp. Also, replace the mounting screws and the wires that need to be connected to the terminals of the replacement water inlet valve.
- Lastly, you are going to put the control panel, water supply lines, and the cabinet back in position. Then you can turn the water back on.
These are simple instructions on how you can do these jobs yourself. If you are not confident in your skills, give our appliance repair company a call and we will send a certified technician to get your washer up and running again.